How to Install C7 Widebody Without Cutting Corners
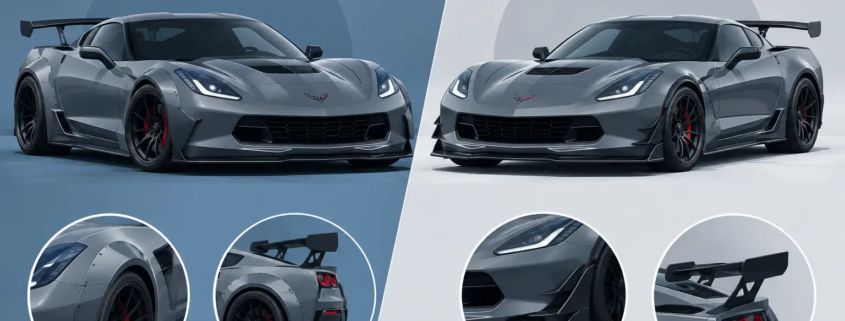
A C7 widebody conversion is not a bolt-on accessory job. It is a full visual rewrite of the Corvette’s stance, shoulder line, wheel fitment, and road presence. If you are researching how to install C7 widebody components, understand the standard from the start: the difference between a head-turning build and a car that looks unfinished is measured in panel alignment, wheel planning, surface preparation, and patience.
A properly installed widebody should look like it was born on the car. Every body line needs to flow. Every gap needs to look intentional. Every wheel needs to fill the new architecture without rubbing, poking, or disappearing inside the fender.
Before You Install a C7 Widebody, Build the Plan
Do not unpack panels and start sanding before the vehicle has been measured. A widebody changes much more than the exterior. It affects wheel diameter, wheel width, offset, tire section width, suspension height, steering clearance, brake clearance, and the way the Corvette sits under load.
Start by deciding the final stance. Measure the current wheel-to-fender relationship at ride height, then establish where the outer face of the new wheel needs to sit relative to the widened fender. A dramatic widebody with factory-spec wheels tucked deep inside the arches will never deliver the intended presence. On the other hand, wheels pushed too aggressively can create tire contact when the suspension compresses or the steering reaches full lock.
This is where the build earns its look. Confirm your wheel and tire package before permanently bonding any widebody component. For a show-car-level result, account for the tire’s true section width, not only the number printed on the sidewall. Tire brands can vary. So can suspension geometry after lowering.
You will also need a clean, climate-controlled workspace, quality masking materials, a panel sander, bodywork tools, appropriate structural panel-bond adhesive, seam sealer, primer supplies, and PPE. Carbon fiber dust is not something to take lightly. Use respiratory protection, gloves, and eye protection whenever sanding or trimming composite panels.
How to Install C7 Widebody Panels the Right Way
The installation sequence depends on the kit design, but the process always begins with a complete dry fit. Never paint first. Never bond first. Dry fit every major piece while the car is assembled enough to verify the full visual relationship between panels.
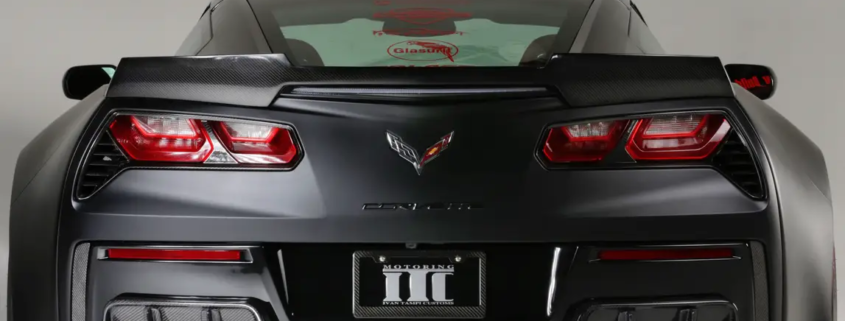
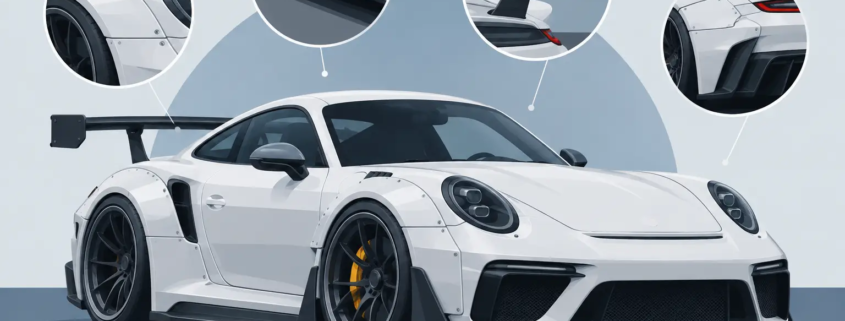
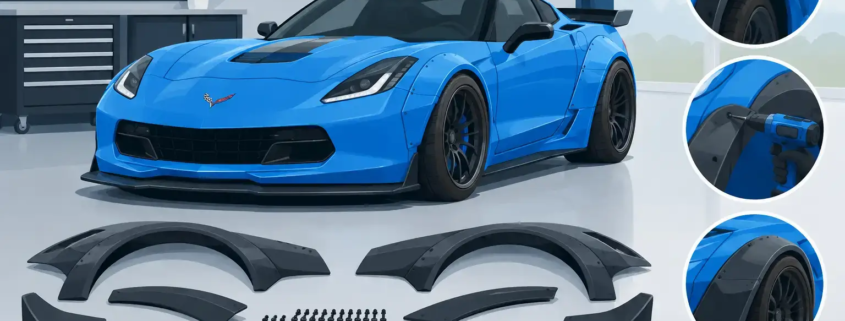
For a complete system such as the Ivan Tampi Customs XIK Widebody Kit, that means laying out the replacement bumpers, widened front fenders, rear quarter components, side skirts, splitters, and spoilers as one coordinated design. A widebody is not a collection of separate parts. It is one silhouette.
Strip the Factory Components Carefully
Begin by disconnecting the battery, then remove the factory bumper covers, lamps or trim pieces as required, side skirts, wheel liners, wheels, and any other components that interfere with access. Label every fastener and connector. The C7 has tight packaging around lighting, cooling ducts, wheel liners, and bumper mounting points, so rushing disassembly creates expensive problems later.
Inspect the factory body structure before moving forward. Repair cracked mounting tabs, previous collision damage, corrosion, or distorted sheet metal now. Adhesive and filler cannot turn damaged structure into a precision foundation.
Dry Fit Every Panel Before Surface Prep
Set the replacement or overlay panels in place using tape, temporary fasteners, clamps, and non-marring supports. Start from fixed reference points such as the hood, doors, rocker area, rear hatch opening, and factory bumper mounting locations. Work outward from those points.
At this stage, check door clearance, hood clearance, hatch operation, fuel-door access, wheel-liner fitment, taillight and headlight positioning, and bumper-to-quarter transitions. Look down the entire side of the car under strong, even lighting. The eye will catch a wandering body line long before a tape measure does.
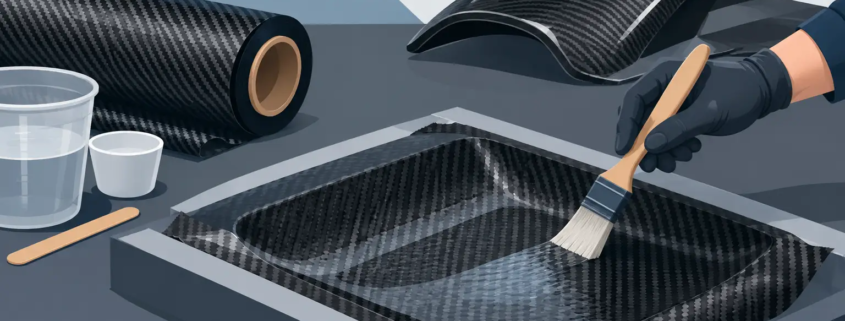
Composite panels may require controlled trimming and edge finishing. That does not automatically signal poor quality. Hand-laid carbon fiber and fiberglass-based composite parts are built for high-impact customization, and exact vehicle conditions can vary. What matters is that modifications are made gradually, symmetrically, and with the final panel gap in mind.
Do not remove material from one side without comparing the opposite side. Use templates, centerline measurements, and repeated test fits. A few extra minutes at this stage can prevent hours of corrective bodywork after bonding.
Prepare the Bonding Surfaces
Once the fit is locked, mark the panel locations with fine-line tape and reference marks. Then remove the panels and prepare the contact areas exactly as specified by the adhesive manufacturer.
Paint, clear coat, wax, road grime, and mold-release residue must be removed from all bonding zones. Scuff the bonding surfaces to create mechanical adhesion, clean them with the correct solvent, and avoid touching prepared areas with bare hands. Oils from skin can contaminate a bond line.
Use only automotive-grade structural panel-bond adhesive where the kit and installation method call for it. Hardware may secure positioning and support during curing, but screws alone are not a substitute for a properly engineered bond. The adhesive bead must be continuous, with enough material to prevent voids while avoiding excess squeeze-out that becomes difficult to clean from visible surfaces.
Work within the adhesive’s open time. If the product begins curing before the panel is positioned, do not force the job. Remove the material, clean the surfaces, and restart. A rushed bond is hidden until it fails.
Bond, Clamp, and Let the Car Sit
Set the panel into its established reference marks and apply even clamping pressure. Too little pressure can leave gaps. Too much pressure can squeeze out the adhesive and distort the panel. Use padded clamps, temporary fasteners, or purpose-built supports to hold the component without printing stress into the composite.
Then leave it alone. Cure time is not a suggestion. Temperature and humidity affect adhesive performance, and moving the vehicle too soon can shift alignment before the bond has developed full strength.
After curing, remove temporary hardware where appropriate, inspect the bond line, and seal any exposed seams according to the paint and bodywork plan. The goal is not simply to hide the transition. The goal is to create a durable finish that will survive heat cycles, vibration, washing, and real road miles.
Bodywork and Paint Make or Break the Conversion
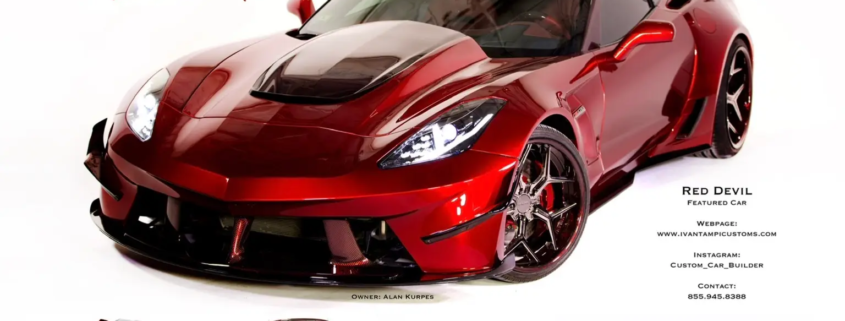
A carbon-fiber widebody can be finished in exposed weave, full paint, or a mix of both. Each option changes the work required. Exposed carbon demands meticulous edge finishing and clear-coat work because every inconsistency remains visible. Painted panels allow more flexibility for blending and refinement, but they still need proper primers, blocking, and panel-gap correction before color.
Do not bury poor fitment under filler. Use filler sparingly and only where appropriate to refine a transition. If a panel is visibly mispositioned, correct the placement first. Show-car bodywork is about clean geometry, not thick material.
Before final paint, reinstall the wheels and set the car at intended ride height. Turn the steering from lock to lock, compress the suspension if possible, and verify tire clearance at every corner. Check splitter ground clearance, side-skirt clearance, and rear bumper clearance around exhaust tips. A car that looks perfect on stands may tell a different story on the ground.
Final Assembly Is Where the Details Speak
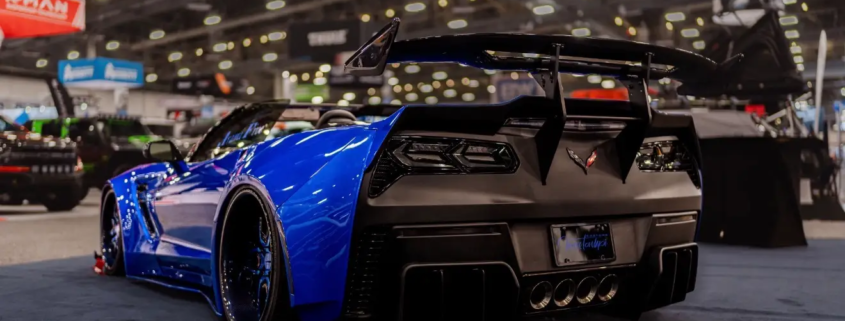
After paint and curing, reassemble lights, liners, grilles, trim, sensors, weather seals, and hardware with the same care used during mock-up. Recheck fastener torque, lighting functions, panel gaps, and wheel clearance. If the build uses a rear wing, deck spoiler, or diffuser, verify that each piece complements the car’s new visual center of gravity rather than competing with it.
The final walkaround should be ruthless. Look for uneven reflections, proud edges, chipped paint near fasteners, inconsistent gaps, adhesive residue, and wheel fitment that needs correction. Photograph the car in natural light from low angles. The camera exposes what the garage can hide.
A C7 widebody deserves more than a quick transformation. Give the car the mock-up time, fabrication discipline, and finishing work its new silhouette demands. When every line is right, the Corvette does not look modified. It looks inevitable.